This might be the project to end all projects.
Okay, not really. But for now, I am DONE with furniture projects. This was a lot of work, and by the end I just wanted to throw it away.
I had to keep telling myself it would be worth it and to keep chugging along.
I found this chest thing at Goodwill a couple of weeks ago for $50. This thing is SOLID. When I say solid, I mean it! The doors alone weigh about 30lbs each, if not more. I actually hated the doors and had decided not to use them in the finished product. But after sharing that idea with a few friends they convinced me that these doors would be amazing.
They were right, the doors really make the finished piece! I especially love the original hardware.
Okay, so here's what I started with:

When I saw the inside shelves, I knew it would be a perfect place to hold our arts and craft supplies in the dining room. I am now using it for homeschooling supplies, as well.
Initially, I was going to paint the thing white and antique it.
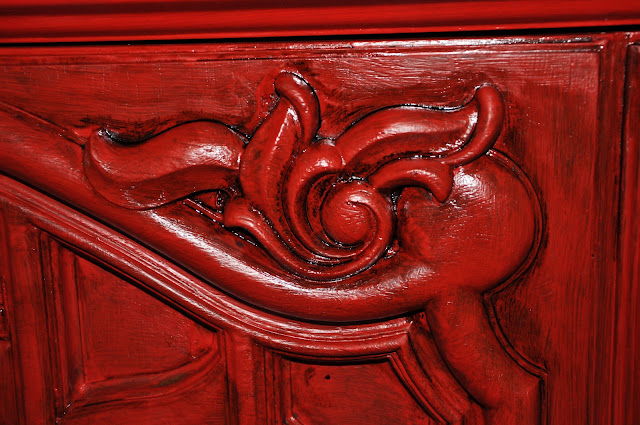
After two coats of primer, I decided I wanted something that would POP! I thought about yellow, but eventually decided on a red. I found this "Candy Apple Red" at Walmart in the "oops" section! It was half off, so I got it for $8! Woohoo! I added 3 coats of the red to try to make it look even. After awhile I figured that was enough because the stain would make it look uneven, anyway. I also, only did two red coats on the inside, because no one would be looking in there.
Lazy?
Maybe, but I was so over painting at this point and I hadn't even touched the doors!
The doors...
OH THE DOORS! I hate them. But I love them.
They were a PITA to work on, trying to get that red paint into every small detail. Also, I didn't prime them first.
Oops, another lazy moment?
So the doors look darker than the body.
Do I care?
No, I think it adds to the character!
After the doors had three coats of red I moved on to the fun part...
staining!
When all my hard work started to actually look like the picture in my head!
(I really should have had better ventilation in the room, it gave me a headache)
Besides the headache, staining was the best part. Here are the final pictures. I added the stain to the wood and let it sit a minute or two and then wiped it off, making sure to leave some in the details to make them look more worn. I love the finished result!
Love the hardware! This is the original hardware and I didn't paint it. I had thought about spray painting them black, but decided it look great, already.
I also didn't stain the inside, because it didn't matter.
It kind of looks like it's from China, now!
Like I said earlier, I may not do another furniture project for awhile. At least not a BIG one!
I.am.beat!
Totally worth it, though!
Perfect addition to our homeschool room!


1 comment:
Love this project, did you use flat or semi gloss in the red? And what kind of stain did you use ?
Post a Comment